Short answer: yes, but not by itself, and not without the right setup. In this blog, I’ll show the underwater photos and videos I shot with my iPhone (including iPhone 14 pro, iPhone 15 pro max and iPhone 16 pro) through freediving, the settings I used, what worked well, and where the limitations are. If you are wondering can you film underwater with iPhone, or whether the results are actually good, this blog will show you.
Can You Film Underwater With iPhone 16 Pro?
- Yes, with a proper underwater housing
- It can shoot great underwater video and photos
- Good results depend more on light, distance, water clarity, and settings than just the phone itself
- It still won’t magically fix bad conditions
- Editing can improve your footage a lot, but it also has limits
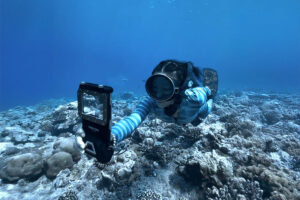
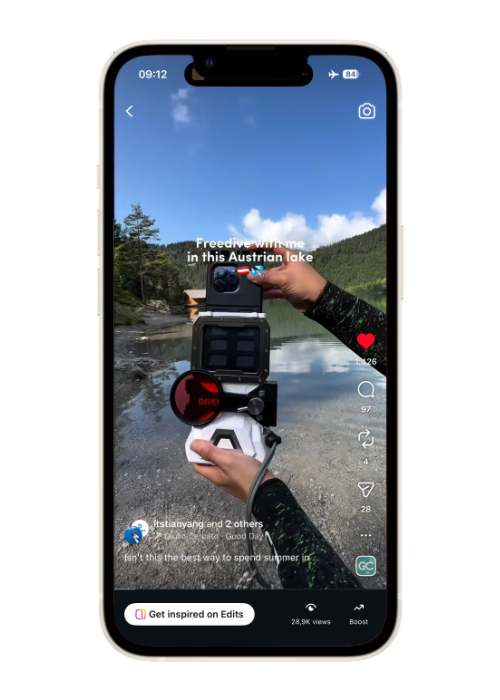
My Current Underwater iPhone 16 Pro Setup
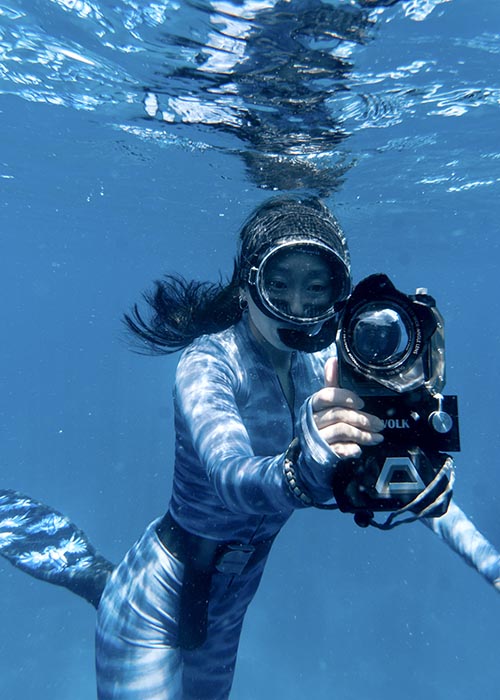

This is the setup I currently use for underwater iPhone photos and videos:
- iPhone 16 Pro
- DIVEVOLK Seatouch 4 MAX Plus Housing
- Wide Angle Lens
Optional:
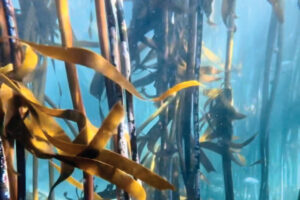
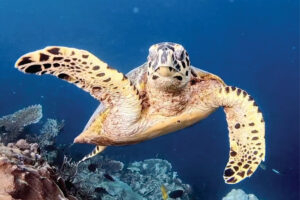
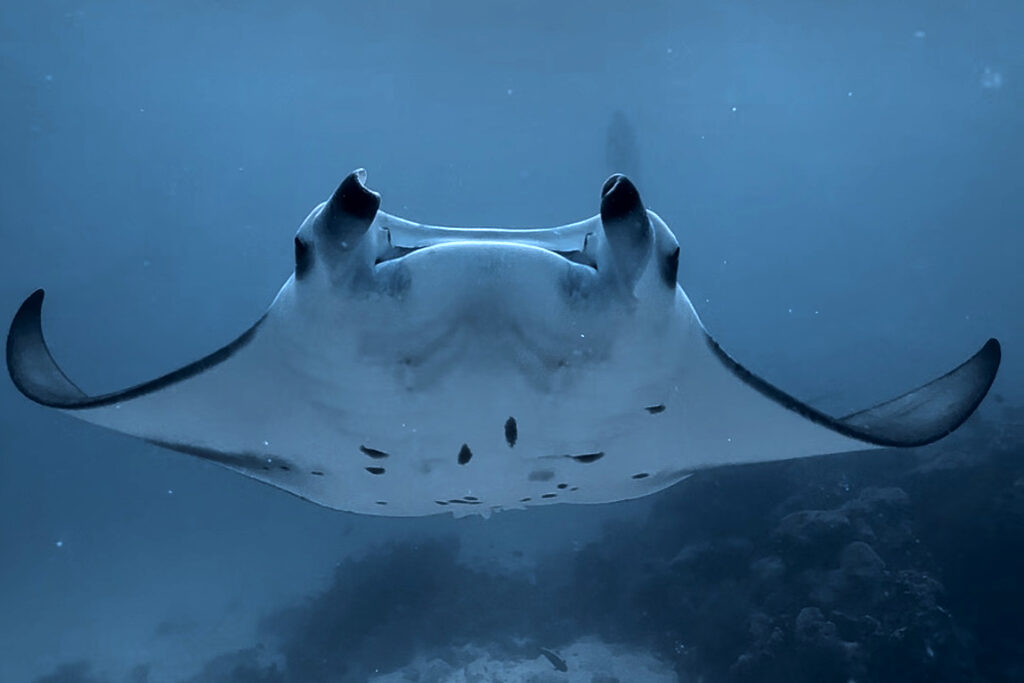
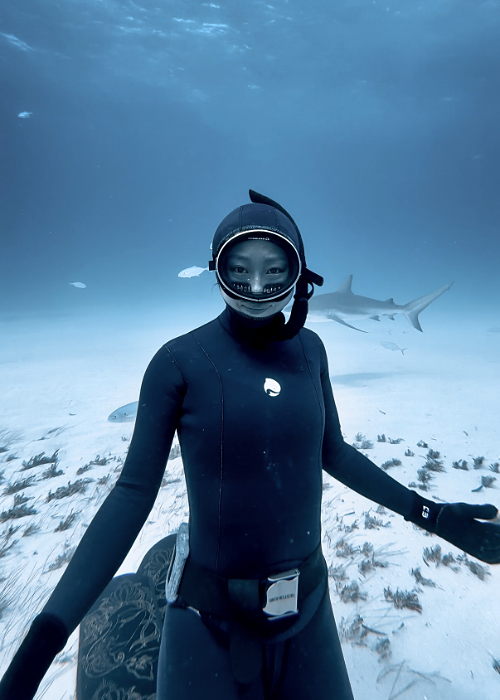
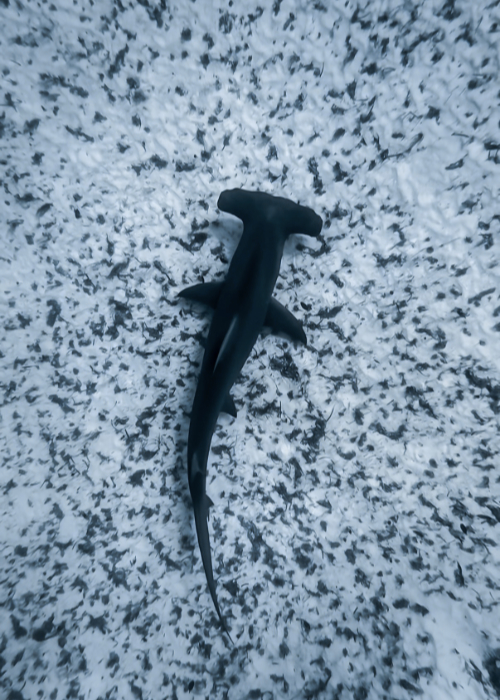
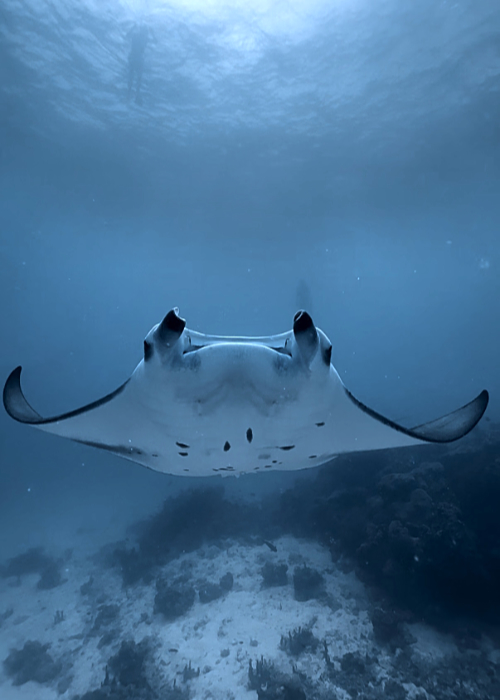
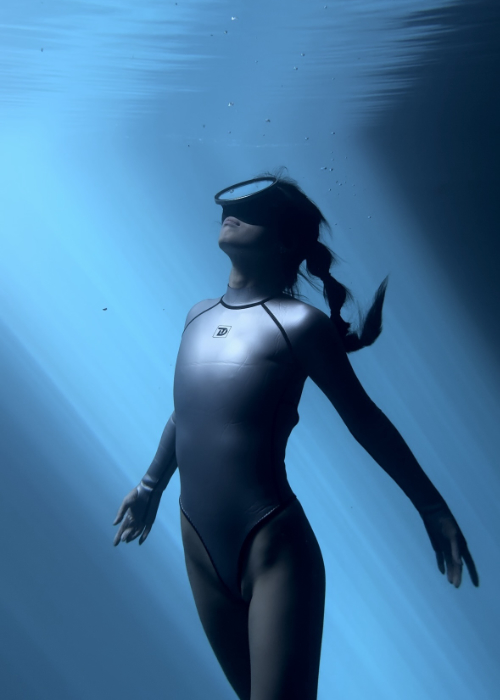
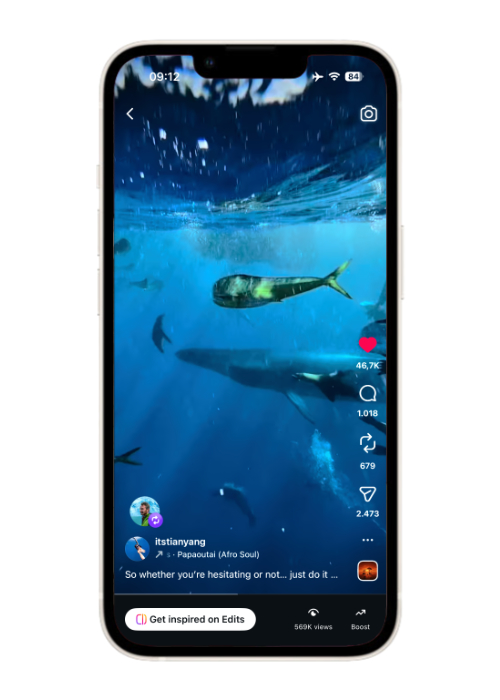
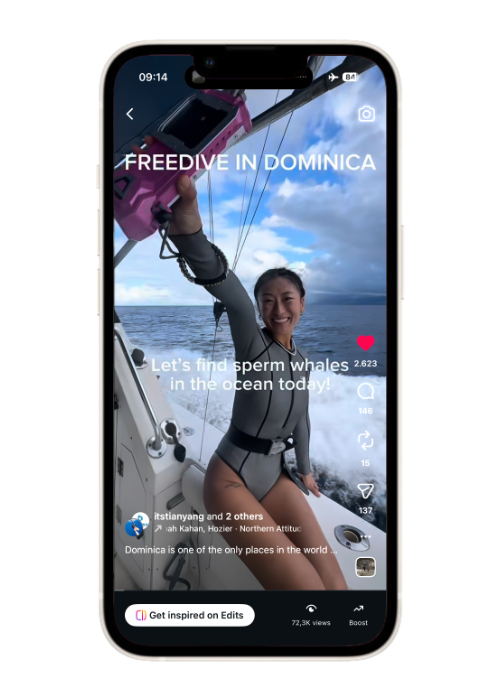
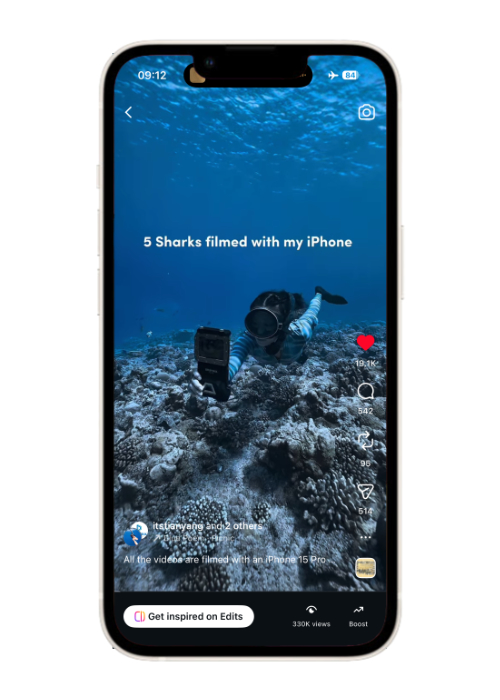
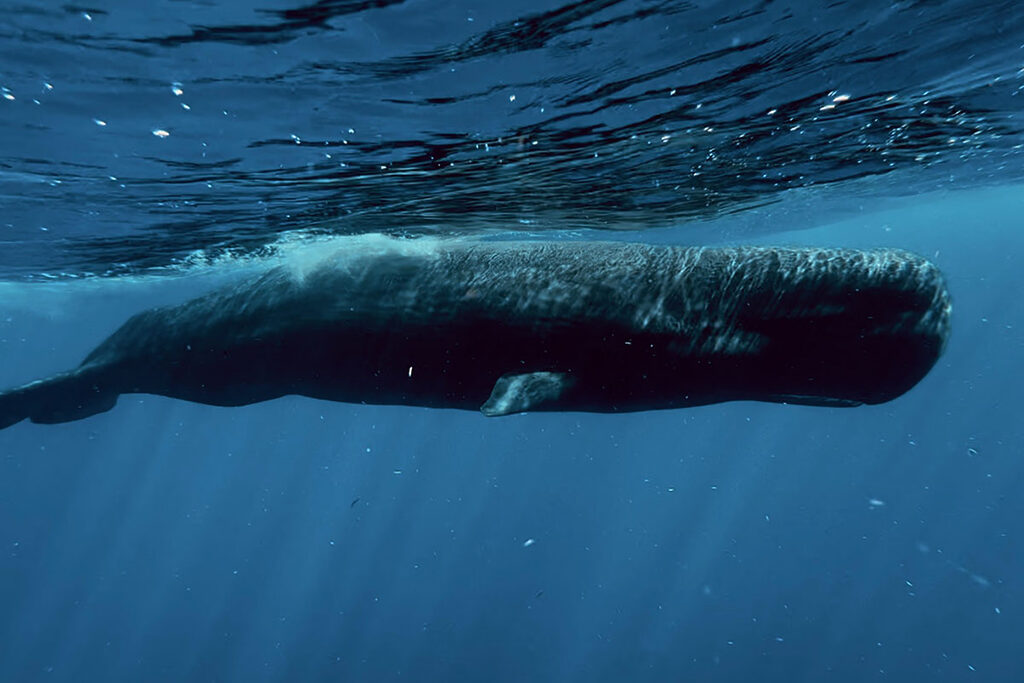
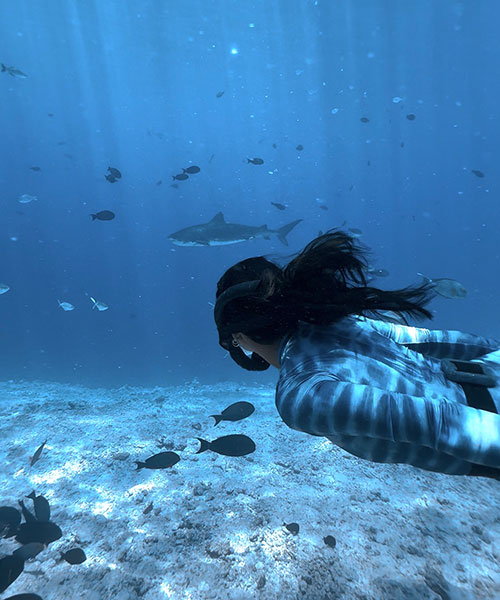
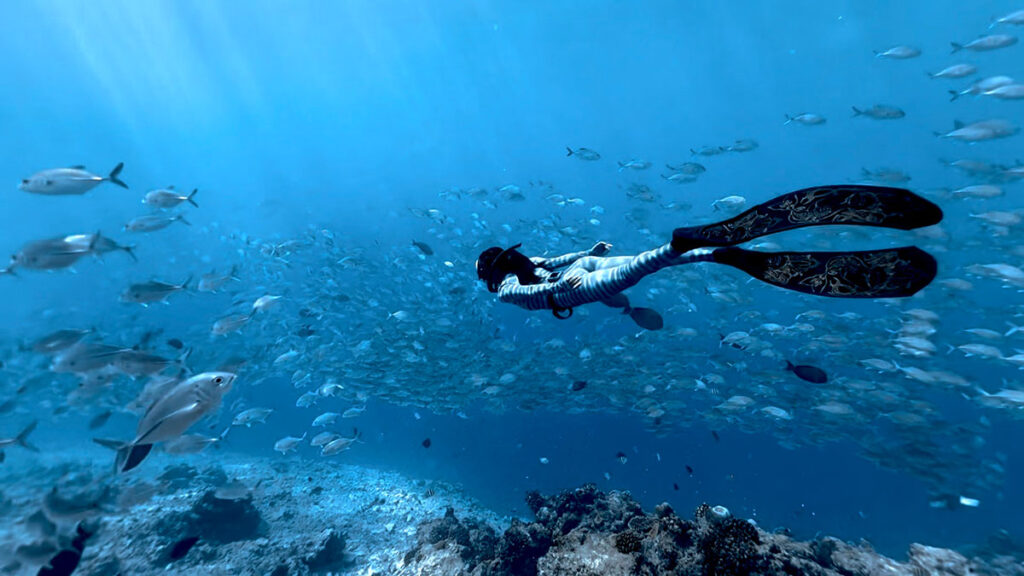
What I Shot With iPhone 16 Pro Underwater
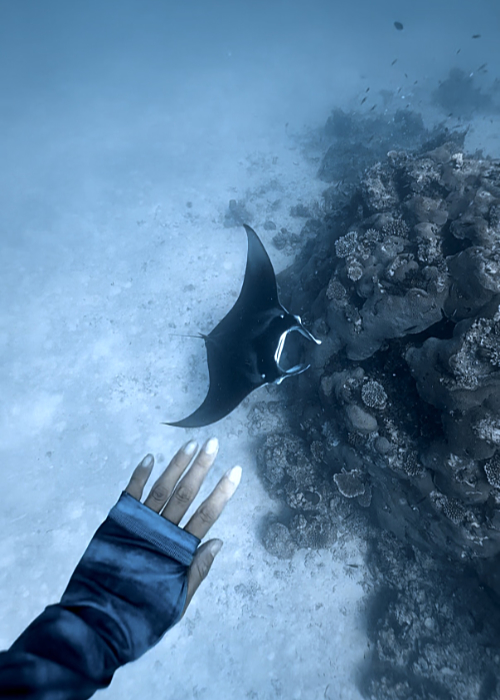
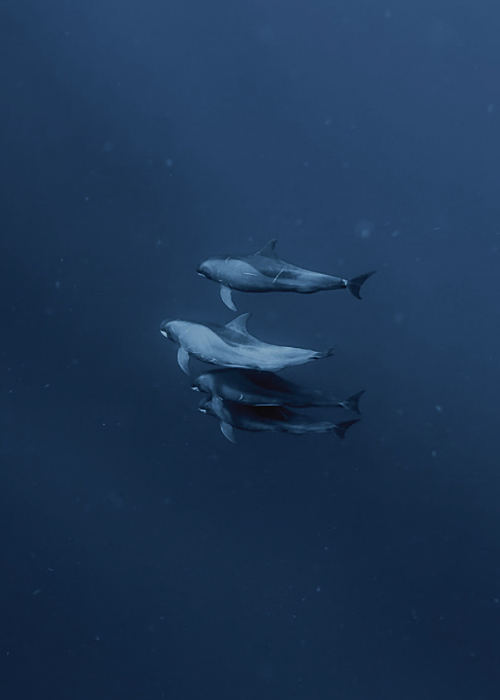
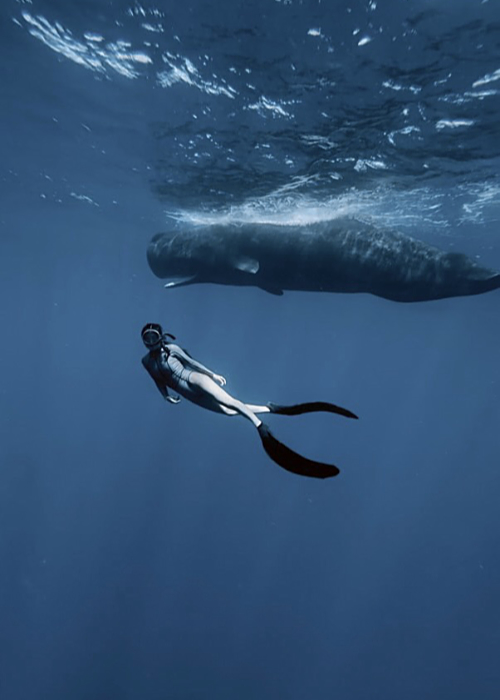
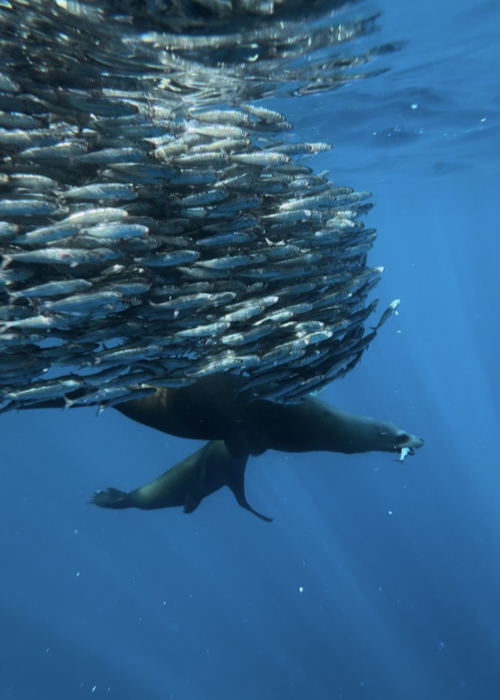
Underwater Photos

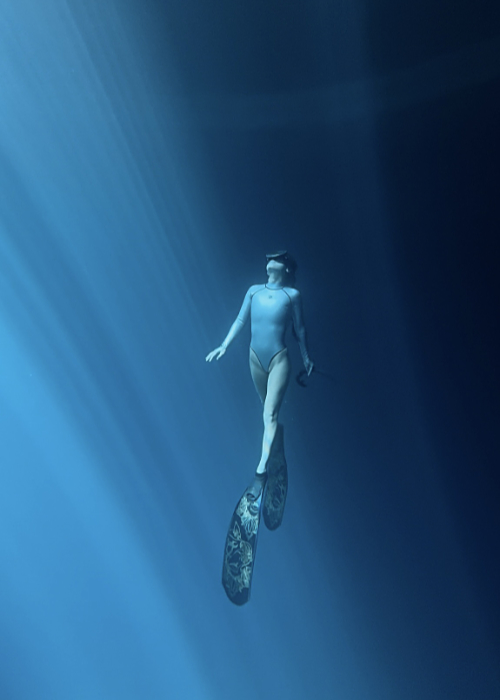
Underwater Videos
Best iPhone underwater photo and Video settings
- Turn HDR off
I usually recommend turning HDR off for underwater video on iPhone, especially if you want easier editing and more predictable colors afterward when you film underwater with iPhone. In theory, HDR sounds great because it is meant to preserve more detail in bright highlights and dark shadows, but underwater it often creates more problems than benefits, since the light is already uneven, colors are harder to control, and different editing apps or platforms do not always handle HDR footage well. A lot of the time, HDR underwater footage can end up looking too contrasty, too bright in certain areas, or just inconsistent once you start editing or uploading it, so for me, shooting in standard SDR simply gives a more reliable starting point and makes the whole workflow much less frustrating.
- 1080 or 4K
I normally prefer shooting in 4K if I want the best possible quality, especially for YouTube or for keeping the footage for future editing, because it gives you more detail and a little more flexibility if you want to crop or reframe later. That said, if your main goal is Instagram or TikTok, 1080p is often already enough, since those platforms compress video heavily anyway and most people will watch it on a phone screen. So for me, it really depends on where the footage is going in the end: if I want maximum quality and more room in post, I go with 4K, but if I just need quick, lightweight files for short-form content, 1080p can be completely fine too.
- 30/60/120fps
In most situations, I actually use 60 fps underwater because I like the smoother look it gives, and it also gives me the option to slow the footage down to 0.5x later if I want to when I film underwater with iPhone. For me, 60 fps is a really nice balance because it still looks clean in good conditions, while making movement in the water feel a bit more fluid and polished. If the light is weaker, for example on deeper dives, cloudy days, or in the early morning or late afternoon, then 30 fps can be the better choice because it lets in more light and usually gives you brighter, cleaner footage. I only use 120 fps when I know I want proper slow motion and when there is enough light for it, because once the light drops, 120 fps can get dark very quickly and the quality falls off fast underwater. Plus, 120 fps videos are large files, so your phone can run out of storage very easily.
- 0.5 or 1x zoom
For underwater filming, I almost always recommend staying with 0.5x or 1x and physically moving closer to your subject instead of using 2x, 3x, or 5x zoom. The main reason is that underwater image quality falls apart much faster once you start zooming in, because you are not just enlarging your subject, you are also enlarging all the particles in the water, the haze, and the loss of clarity between you and whatever you are trying to film. Getting closer almost always gives you a cleaner, sharper, more immersive result, while stronger zoom usually makes the footage look flatter, murkier, and less professional. Underwater, distance matters so much more than people think, so in most cases the best “zoom” is simply to swim closer.
- If Filming Video, Tap To Focus Manually
When I film underwater with an iPhone, I tap to focus manually all the time because autofocus can get confused very easily once you are in the water. Tiny particles, moving light reflections, bubbles, and even small things drifting between you and the subject can all make the phone suddenly shift focus when you do not want it to, and that can ruin an otherwise beautiful clip. By tapping on your subject while the camera is rolling, you help the phone stay focused on what you actually want, and that gives you a much better chance of keeping the shot clean and usable.
- Lower The Exposure Down Slightly
When you are close to the surface and the sun is strong overhead, the bright areas can get blown out very quickly, especially around the water surface, skin highlights, or any reflective parts of the scene. This is always one of the biggest problems when I film with action cameras, but with your phone, you can adjust the exposure manually. In those situations, I like to bring the exposure down just a little bit because it helps protect the highlights and keeps the image from looking too harsh or washed out. You do not need to darken it too much, just a small adjustment is often enough to keep more detail in the brightest parts, and that usually gives you a much nicer file to work with later when editing. And it also looks more cinematic.
- Best Underwater Video Editing Apps On iPhone
I use Lightroom Mobile app for quick color adjustments and CapCut and Edits for video editing because together they make the workflow simple and quick. Lightroom Mobile is great for basic underwater photos and videos corrections like bringing back warmth, adjusting blues and greens, and making the image feel a little more natural again, while CapCut is an easy option for trimming clips, adding text, adding music and make it ready to post on tiktok or Instagram. Neither app will magically fix bad footage, but they are both very practical.
I wrote a step by step how I color grade my underwater photos and videos on iPhone here: 👉How To Edit Underwater Videos On IPhone: Color Grading In 5 Mins

How to film underwater with iPhone
- Move closer
If you want your underwater iPhone footage to look sharp, this is probably the most important rule of all: get closer to your subject than you think you need to. Underwater, even very clear water still has tiny particles, bubbles, and haze between your camera and whatever you are trying to film, so the more distance there is, the softer and flatter your footage will usually look. That is also why using 2x, 3x, or 5x zoom underwater often makes things worse instead of better, because you are not really fixing the distance problem, you are just enlarging the haze and making every little shake more obvious. In most situations, it is much better to use 0.5x or 1x and let your fins do the zoom by physically getting closer.
I explain this in more detail here: 👉 Why Your Underwater IPhone Photos And Videos Look Blurry (Easy Fix Guide)
- Light
A lot of people do not realize how quickly quality drops once the light gets weaker or you go deeper. As you descend, water absorbs light fast, especially the warm tones, which is why underwater footage can start looking dull, blue, or green. In general, shallower water (0-5 meters ) gives you the best chance of getting brighter, cleaner footage with nicer colors. Good natural light also makes it easier for your iPhone to keep detail, avoid mushy-looking footage, and produce something that still looks nice even before editing.
If you are scuba diving deeper than 15 meters, a video light and red filter are recommended because by that depth, a lot of the natural light and warm colors are already gone, so your footage can start looking flat, dark, and overly blue or green. A video light helps bring back brightness and detail in your subject, while a red filter can help balance the colors more naturally, especially when there is not enough red left in the water anymore.
- Water Condition
There are a lot of things we can’t control in the natural environment, and water condition is one of them. Even if your camera settings are perfect, bad visibility will still affect the final result. Editing can improve it, but it cannot fix bad footage completely. So sometimes you just have to accept that there is not much you can do, and still enjoy your dive 🙂 After all, being able to be underwater is already a privilege.
- Stability / Movement
No matter if you are scuba diving or freediving, small hand movements, surge, current, or fighting your own buoyancy can make clips look shaky and messy, especially if the light is already low. I try to move as slowly and steadily as possible, use both hands when I can, and keep my elbows tucked in to make the setup more stable. It also helps a lot to find a calm position in the water instead of filming while constantly correcting your body, because once your movement becomes more controlled, the footage instantly looks cleaner and more professional.
When freediving, adding an extra 1 kg of weight can help you control your buoyancy better in shallow water. This is one of the biggest tricks I have found after so many years of diving. It gives you much better breath-hold, easier control, and less shaky footage.
DIVEVOLK SeaTouch 4 Max Plus Review + Discount Code
If you are interested in the same touchscreen underwater phone case I am using, here is a full review I wrote after 3 years of diving with it: 👉 Divevolk SeaTouch 4 Max Plus Full Review
If you’re ready to order now through my personal DIVEVOLK discount link and use the DIVEVOLK discount code DIVETIAN6, you’ll get:
- 6% off your entire order
- a free Protective Cover (perfect for flights and dive trips)
And if your order is over $500, you’ll also receive:
- a free Travel Case
- a free L-shaped handle bracket
These are the same accessories I use on my own rig and they’re genuinely useful for travel and stability underwater.
👉Use code: DIVETIAN6 at checkout
👉Order directly from DIVEVOLK
The extra freebies usually won’t show on the checkout page, but they will be automatically added to your order by DIVEVOLK.